Do you want to make a cake that will delight your little Minecraft fan? Look no further! At CraftBrink, we’ll guide you through the process of crafting an easy Minecraft cake in just a few simple steps. This guide is perfect for beginners and busy parents who want to whip up a fun dessert that impresses without the stress. Let’s jump into this delicious adventure!

How to Make an Easy Minecraft Cake: An Overview
When planning a Minecraft-themed celebration, having the right cake is important. Not only does it serve as a focal point of the party, but it also enhances the overall experience. A well-made Minecraft cake can bring joy to your child and their friends, creating lasting memories. In this section, we’ll cover everything from the significance of themed cakes to the general process of cake making, ensuring you’re set up for success!
Introduction to Minecraft Cakes
In recent years, Minecraft has become a favorite among children and parents alike. The game’s colorful blocks and characters make it a perfect theme for parties. A Minecraft cake doesn’t just satisfy sweet cravings; it adds a special touch to birthday celebrations. In this section, we will discuss why having a themed cake matters and how it enhances the joy of a party. You’ll also get a sneak peek of the steps we’ll cover later.
Why a Themed Cake Matters
When it comes to parties, a themed cake can transform an ordinary gathering into a memorable event. Kids love seeing their favorite things come to life in the food they eat, making a Minecraft cake the star of the show. Not only does it serve as a delicious treat, but it also provides visual excitement and a talking point for guests. Your child’s smile when they see their cake will be priceless!
Overview of the Cake-Making Process
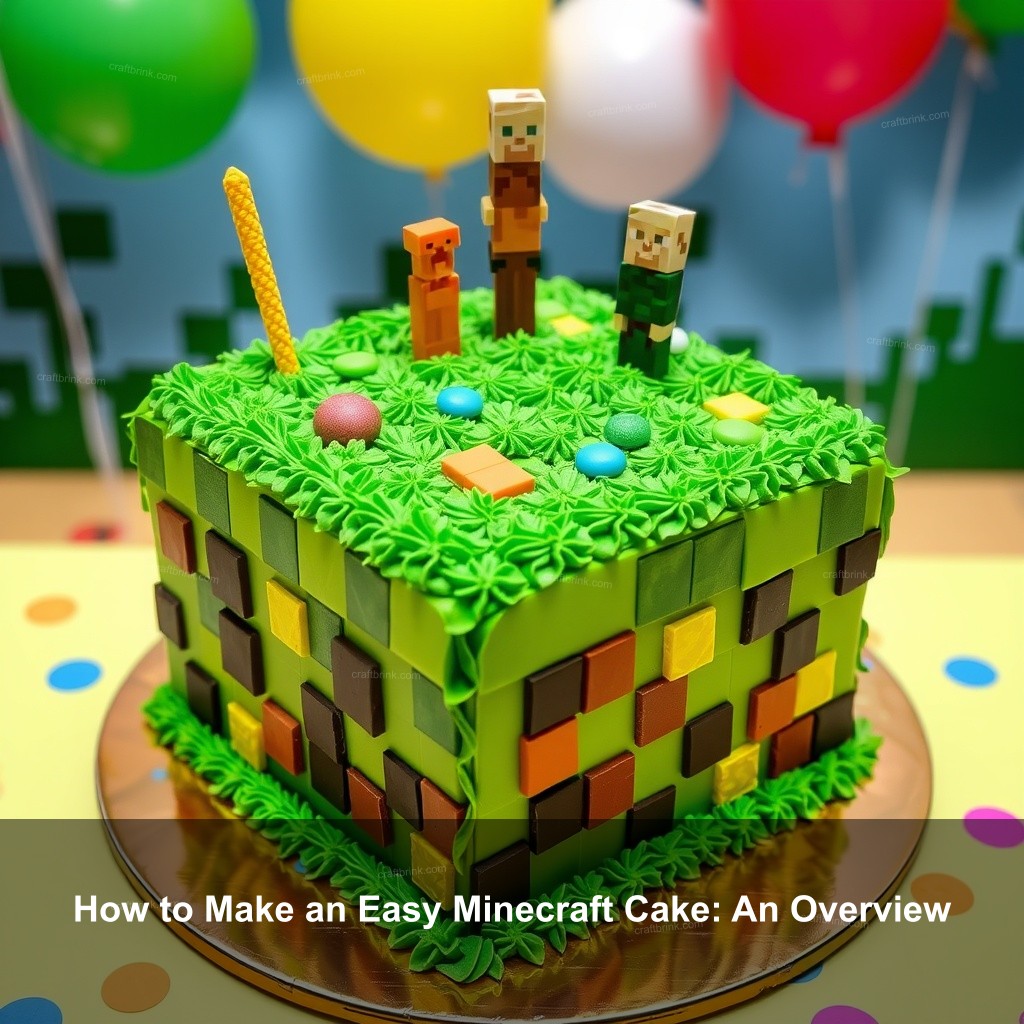
Making a Minecraft cake is not as hard as it sounds. This guide will walk you through selecting ingredients, baking the cake, and decorating it to look like a grass block or Creeper. By the end, you’ll be ready to impress your little gamers with a cake that looks as good as it tastes!
| Step | Description |
|---|---|
| 1 | Gather ingredients |
| 2 | Bake the cake layers |
| 3 | Level the cake layers |
| 4 | Decorate the cake |
| 5 | Enjoy the cake! |
Essential Ingredients for Your Easy Minecraft Cake
The first step to creating your Minecraft cake is gathering all the necessary ingredients. This section will guide you through what you need to make your cake not only delicious but also visually appealing.
Gathering Your Supplies
Before you start baking, it’s important to have everything ready. Here’s what you’ll need:
- Basic Ingredients: Flour, sugar, eggs, and butter are the staples for any cake. For flavor, consider using vanilla extract or cocoa powder if you’re making a chocolate cake.
- Special Ingredients: To achieve a Minecraft look, you’ll need food coloring, preferably green for the grass blocks, and fondant for any additional decorations.
- Baking Tools: Make sure you have cake pans (preferably square for a block look), mixing bowls, a whisk, and a spatula.
Having these ingredients and tools at hand will make your baking experience smooth and enjoyable.
Step-by-Step Guide to Baking Your Minecraft Cake
With your ingredients ready, it’s time to start baking! This section will break down the process into manageable steps, making it easy for even novice bakers.
Baking the Cake Layers
Baking your cake layers is the first major step in your Minecraft cake adventure. Follow these steps to ensure you get perfectly fluffy and delicious cake layers.
Start by preheating your oven to 350°F (175°C). Then, grease your cake pans to prevent sticking. For a basic cake recipe, combine your dry ingredients in one bowl and wet ingredients in another. Gradually mix them together until you have a smooth batter. Pour the batter into your prepared pans, filling them about two-thirds full.
Bake for 25-30 minutes, or until a toothpick inserted in the center comes out clean. Allow the cakes to cool for about 10 minutes before transferring them to a wire rack.
Leveling the Cake Layers
Once your cakes have cooled completely, it’s important to ensure they are level. To do this, use a serrated knife to carefully slice off any domed tops, creating a flat surface for stacking. This will make it easier to decorate and ensure your cake has a professional finish.
Decorating Your Easy Minecraft Cake
Now comes the fun part—decorating your cake! This section will guide you through making your cake look like it belongs in the Minecraft universe.
Creating the Minecraft Theme
Choosing a design for your cake is the first step in decorating. Popular options include a grass block, a Creeper, or even a Minecraft character. Think about what your child enjoys most and use that as inspiration for your decoration.
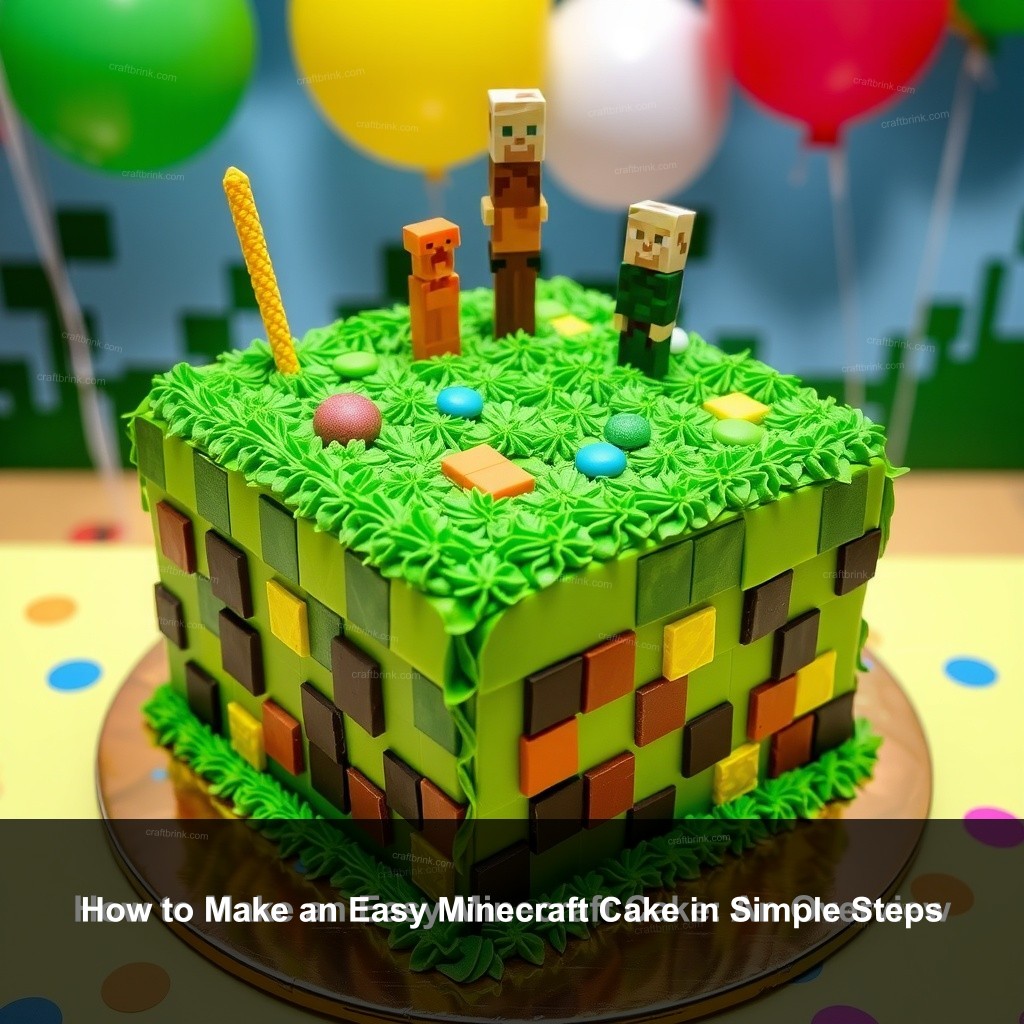
Once you’ve decided on a theme, it’s time to choose your frosting. For a grass block, green buttercream frosting is perfect. Use a piping bag with a grass tip to create textured grass effects. For added detail, use crushed cookies to mimic dirt.
Applying Frosting and Decorations
With your cake layers stacked, it’s time to apply the frosting. Start with a ‘crumb coat’—a thin layer of frosting that traps any crumbs. Refrigerate for about 30 minutes, then add your final layer of frosting. Use a spatula to smooth it out. For decorations, consider using fondant shapes or edible Minecraft figures to enhance the theme.

Quick Tips for an Easy Minecraft Cake Experience
If you’re short on time or looking for ways to simplify the process, this section is for you! Here are some quick tips to help you create a delightful Minecraft cake with minimal stress.
Time-Saving Strategies
Sometimes, life gets busy! If you’re pressed for time, consider purchasing a pre-made cake. You can still decorate it with frosting and themed decorations to make it personal. Additionally, using store-bought frosting can save you time in the kitchen.
Simple Decoration Hacks
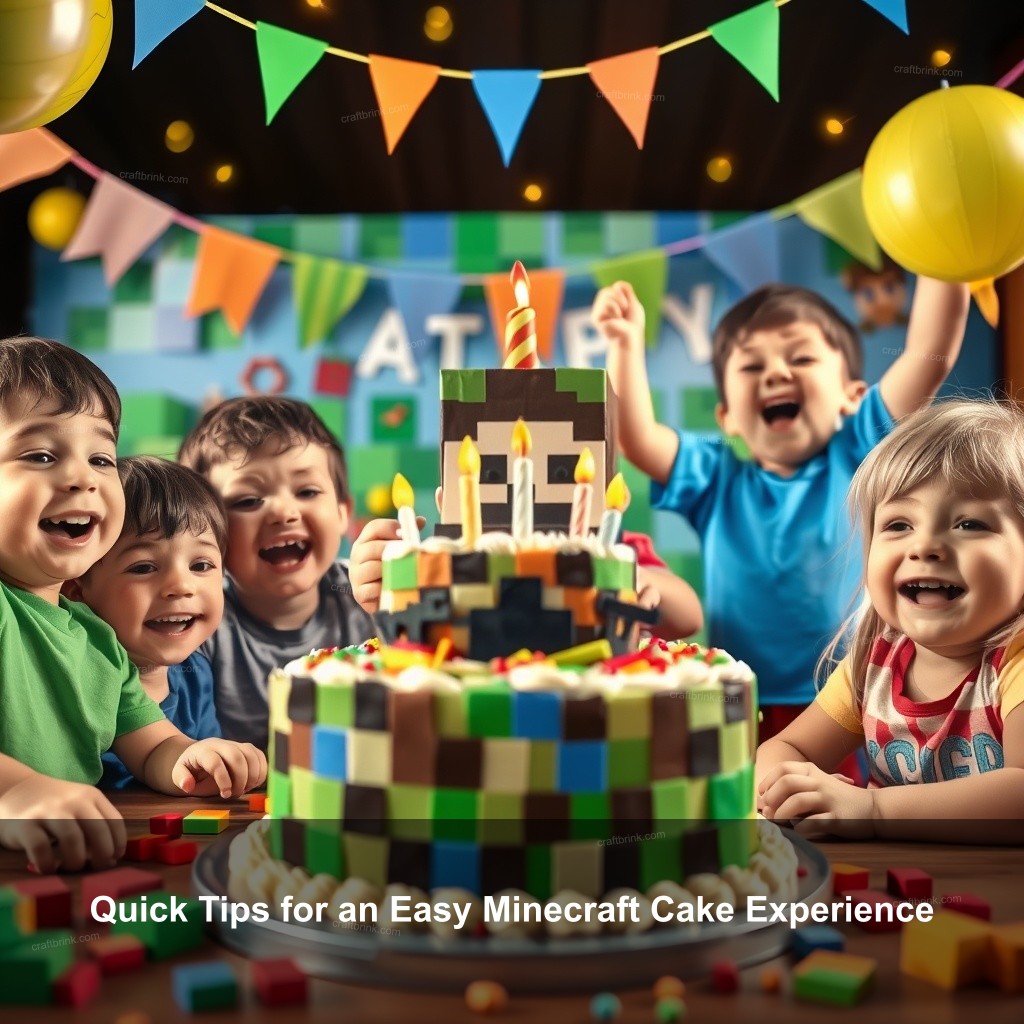
If you don’t have time to make intricate designs, keep it simple. Use colorful sprinkles or chocolate candies to create pixelated patterns. You can also use a simple stencil to dust powdered sugar or cocoa powder for added flair without the fuss.
Conclusion: Enjoy Your Easy Minecraft Cake
Creating an easy Minecraft cake is a rewarding experience that brings joy to any celebration. With the right ingredients and a little creativity, you can make a cake that not only tastes great but also captivates the imaginations of young Minecraft fans. Remember, baking is all about having fun!
We’d love to hear about your cake-making adventures! Share your thoughts or any tips you might have in the comments below. For more great ideas from CraftBrink, check out See the Best Minecraft Cake Ideas for more engaging content.
FAQ
What is the best recipe for an easy Minecraft cake?
The best recipe includes using a simple cake mix paired with green buttercream and fondant decorations. It’s easy and fun!
How can I make my Minecraft cake look more appealing?
Consider using colorful frosting, edible decorations, and fun character figures to make your cake visually exciting.
Can I use a gluten-free cake mix?
Absolutely! There are many gluten-free options available that will work perfectly for your Minecraft cake.
What is the ideal frosting for a Minecraft cake?
Buttercream frosting is ideal as it can be easily colored and piped into fun designs.
How long does a decorated cake stay fresh?
A decorated cake can last about 3-5 days at room temperature or up to a week in the refrigerator.
