Did you know that customizing your character in Minecraft can make your gaming experience even more fun? At CraftBrink, we believe that adding a personal touch to your avatar is a great way to express yourself. In this article, we will guide you on how to create a Minecraft Steve skin step by step. You’ll learn everything from the tools needed to design your skin from scratch to tips for making it truly unique. Let’s get started!

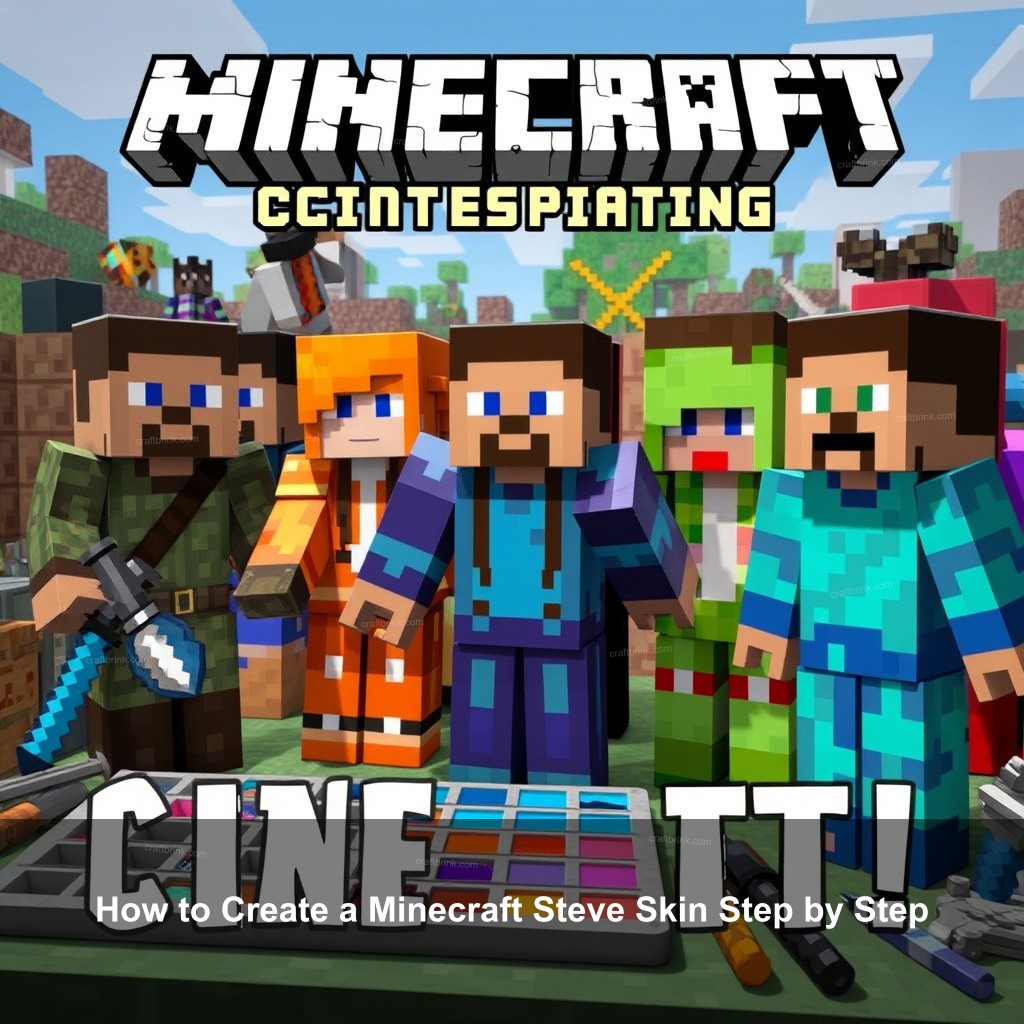
How to Create a Minecraft Steve Skin Step by Step
Creating a Minecraft Steve skin is a fun way to personalize your experience in the game. You can design your skin to reflect your personality, interests, or even a favorite character. In this section, we will cover the basics of what a Minecraft skin is and why it matters.
Understanding Minecraft Skins
Before jumping into the creation process, it’s important to understand what a Minecraft skin is. A skin is basically the appearance of your character in the game, replacing default textures. Whether you play as Steve or Alex, your skin can change how you look in the game world.
Why is customizing your skin important? Well, it allows players to express themselves in a unique way. For example, you might want a skin that looks like a superhero, a famous character, or your own unique creation. The possibilities are endless!
In Minecraft, there are various types of skins ranging from simple designs to complex ones. Players often gravitate towards skins that reflect their current mood or interests, making the game feel more personal.
| Type of Skin | Description |
|---|---|
| Classic | Standard skins like Steve and Alex. |
| Holiday-themed | Skins designed for seasonal events. |
| Unique Designs | Custom skins created by players. |
Tools Needed for Creating a Minecraft Steve Skin
Now that you know what a Minecraft skin is, it’s time to gather the tools you need to create your own. You’ll need a skin editor and perhaps some graphic design software if you want to take it a notch further.
Several skin editors are available online, such as MinecraftSkins, NovaSkin, and others. These tools provide an easy interface to create and customize your skins. They also offer templates and resources to help you along the way.
If you’re serious about skin creation, graphics software like Photoshop or GIMP can improve your design. These programs allow for more detailed work, such as shading and textures that online editors may not offer.
- Consider using online tools for quick edits.
- Download templates for easier skin creation.
- Explore communities for additional resources and tips.
Don’t forget to check out Best Minecraft Steve Skins for inspiration and ideas for your skin design!
Step-by-Step Guide to Creating a Minecraft Steve Skin
Creating a skin may seem daunting at first, but follow these steps, and you’ll be on your way to designing your unique Minecraft Steve skin!
First, set up your skin editor. Open the editor and familiarize yourself with its tools and features. Most editors allow you to rotate the skin and zoom in for detailed work.
Next, start designing your skin from scratch. Choose your color palette and start filling in the sections of Steve’s model in the editor. Try to keep your design cohesive; using too many colors can make it look chaotic.
Once your skin is designed, save it! Make sure you export it in the correct format for Minecraft. This usually means saving it as a PNG file.
- Check the dimensions of the skin before saving.
- Test your skin in-game to see how it looks.
- Ask friends for feedback on your design.

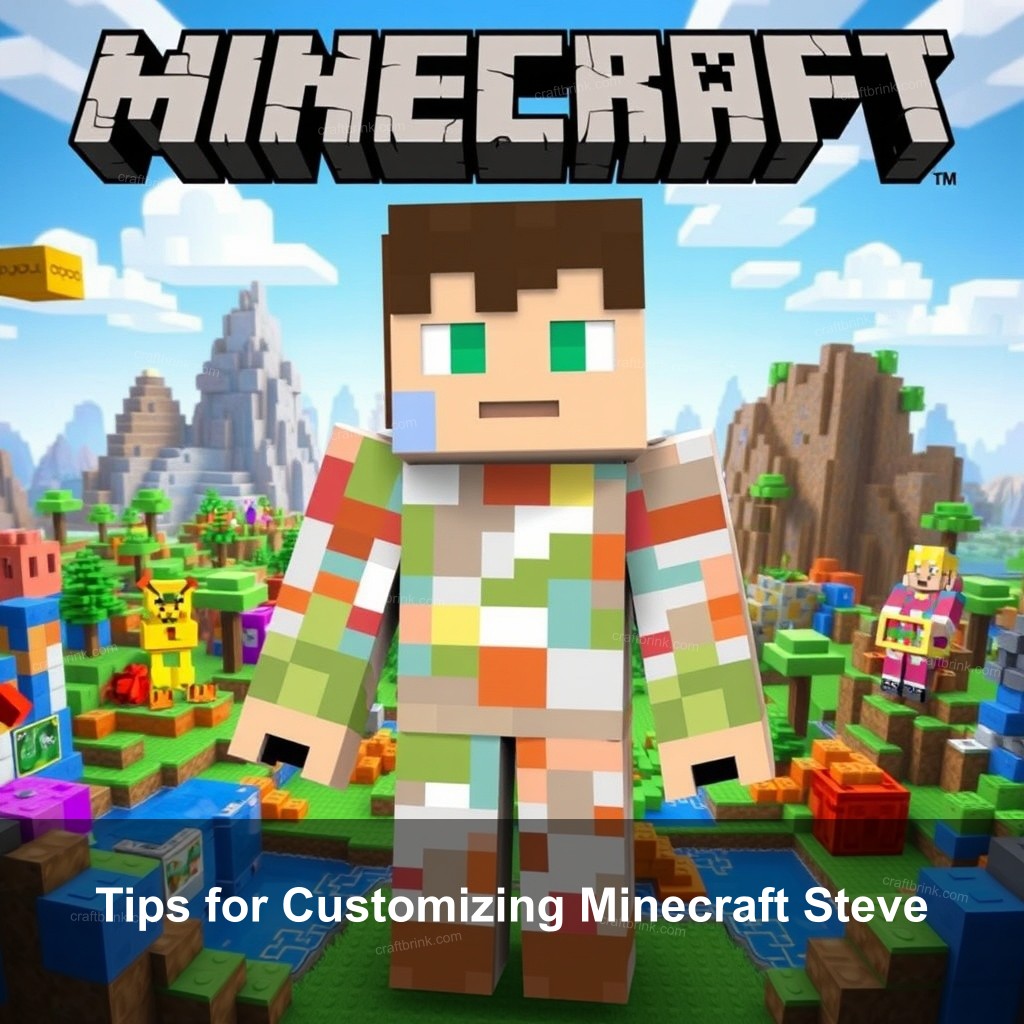
Tips for Customizing Minecraft Steve
Now that you have your skin, think about how to make it stand out even more. Color palette selection is crucial. Use tools like a color wheel to find complementary colors that will make your skin pop.
Consider adding unique elements to your skin, like accessories or patterns. Hats, glasses, or even themed clothing can make a big difference.
Finally, test your skin in-game. Take the time to see how it looks from different angles and in various lighting conditions. Adjust as necessary to ensure it looks great everywhere!
For more ideas, check out Unique Minecraft Steve Character Designs.
Frequently Asked Questions About Minecraft Skins
What is the best tool for creating Minecraft skins?
There are many tools available, but online skin editors like MinecraftSkins and NovaSkin are widely recommended for their ease of use and functionality.
How do I upload my custom Minecraft skin?
To upload your custom skin, log into your Minecraft account, go to the skins section, and upload your PNG file. Make sure it fits the requirements for Minecraft skins.
Can I use skins created by others?
Yes! Many players share their skins online. Just make sure to credit the creator if you use someone else’s design.
How often can I change my Minecraft skin?
You can change your skin as often as you like! There are no limitations on how frequently you can update your appearance.
Conclusion: Enjoying Your Custom Minecraft Skin
Creating a custom Minecraft skin is not just about the final product; it’s about the experience and creativity you put into it. Personal expression through skin design boosts your gameplay experience, making it all the more enjoyable. Don’t hesitate to share your creations with the community and join in the fun!
For further insights, feel free to visit CraftBrink for more exciting content and tips!
